How to set up L2TP over IPsec for iDRAC on MS Windows
The integrated out-of-band management platform on Dell servers is called iDRAC. By default, access to the iDRAC interface of your servers is provided via a VPN.
If necessary, you can also allow access without a VPN by enabling temporary public access to the iDRAC interface. This can be activated in the customer portal on the server details page under the OOB section. Simply select Enable public access for 24 hours.
Once activated, public access remains enabled for the next 24 hours but can be manually disabled at any time.
For security reasons, VPN access remains the preferred method and should be used whenever possible. This guide explains how to access iDRAC using a VPN.
Finding VPN credentials
Credentials and instructions for setting up a VPN connection to the OOB network are available in the customer portal. To access them:
-
Navigate to Networks → VPN access → VPN to DRAC
-
Select the location and click Credentials
-
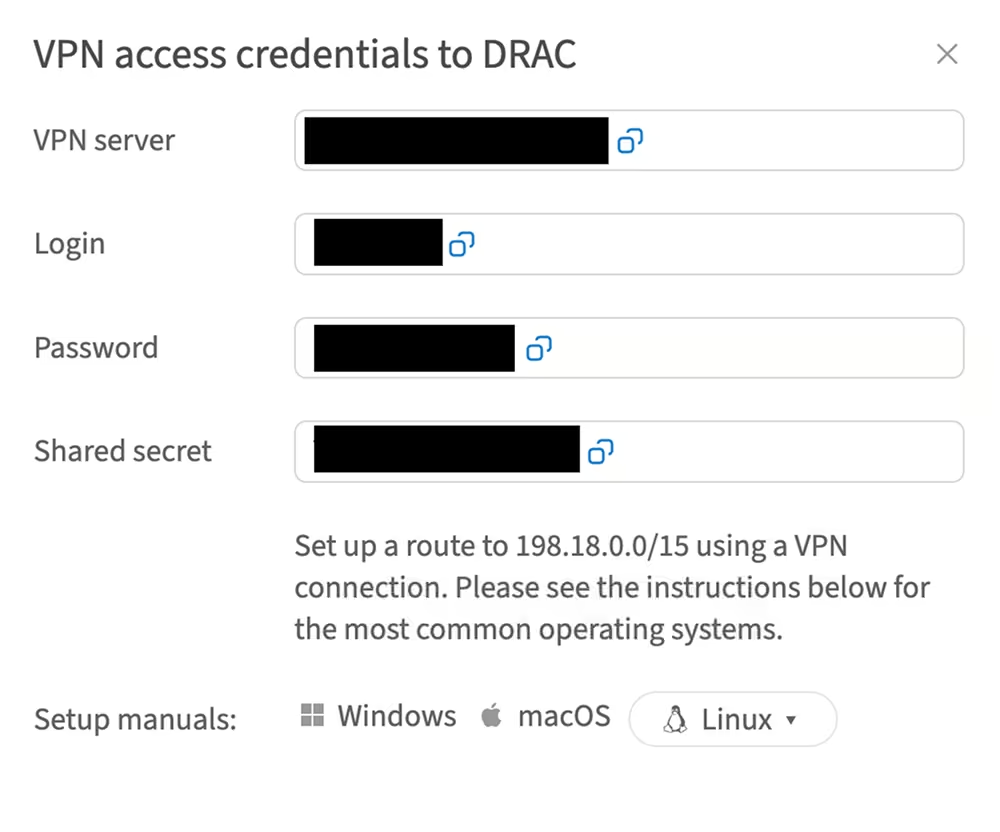
In the opened window, you will find the credentials:
Setting up a new VPN connection
-
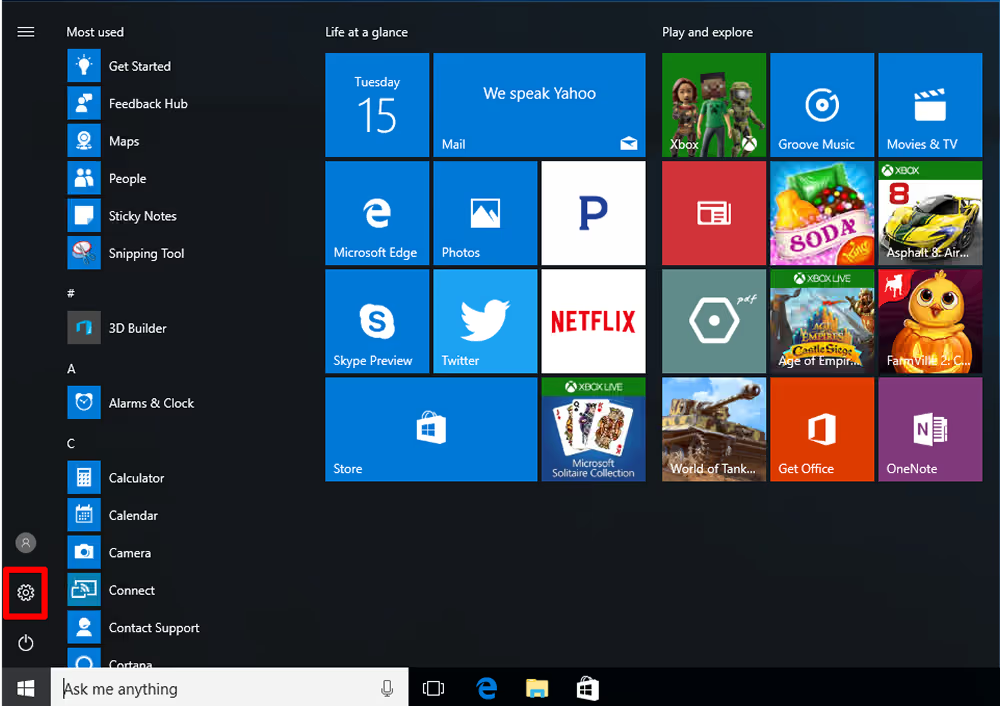
Go to Start → Settings
-
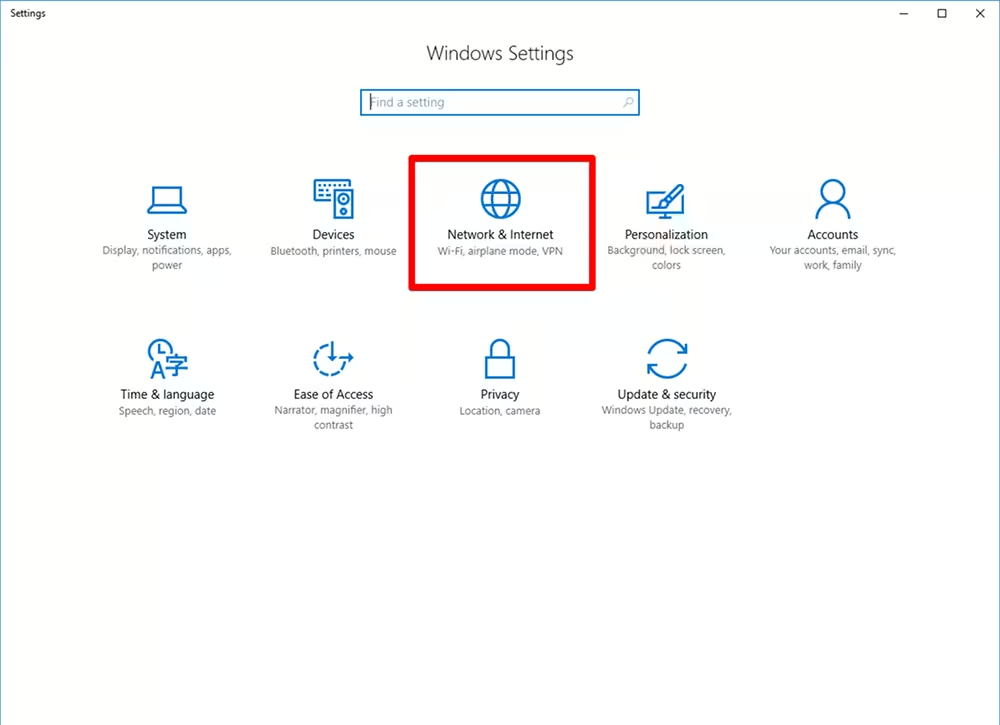
Choose Network & Internet
-
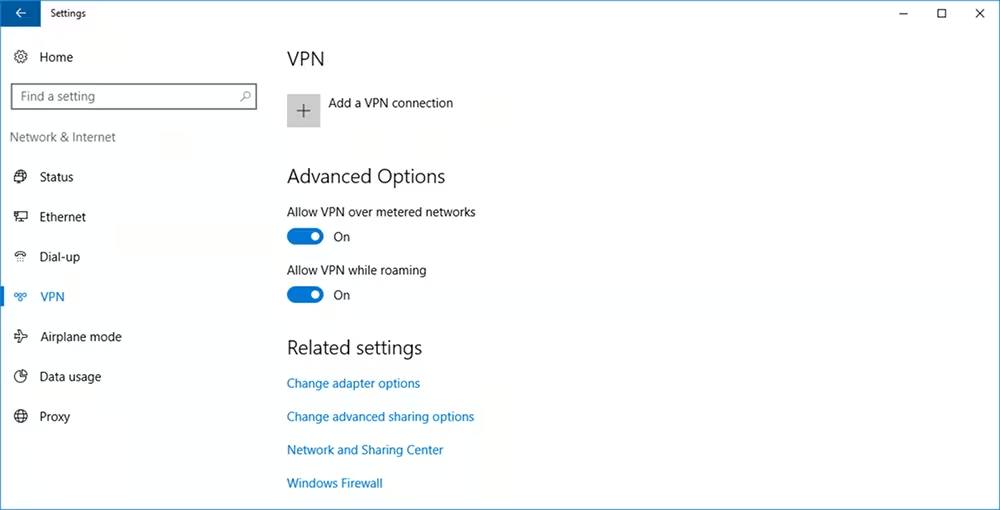
Navigate to the VPN tab and click Add a VPN connection
-
In the opened window, enter the following details:
-
VPN provider: choose Windows (built-in)
-
VPN type: choose L2TP/IPsec with pre-shared key
-
Connection name: e.g., VPN iDRAC
-
Login credentials obtained from the customer portal:
-
Server name or address: VPN server
-
Pre-shared key: shared secret
-
Username: login
-
Password: password
-
-
-
Click Save
Enable additional security protocols
-
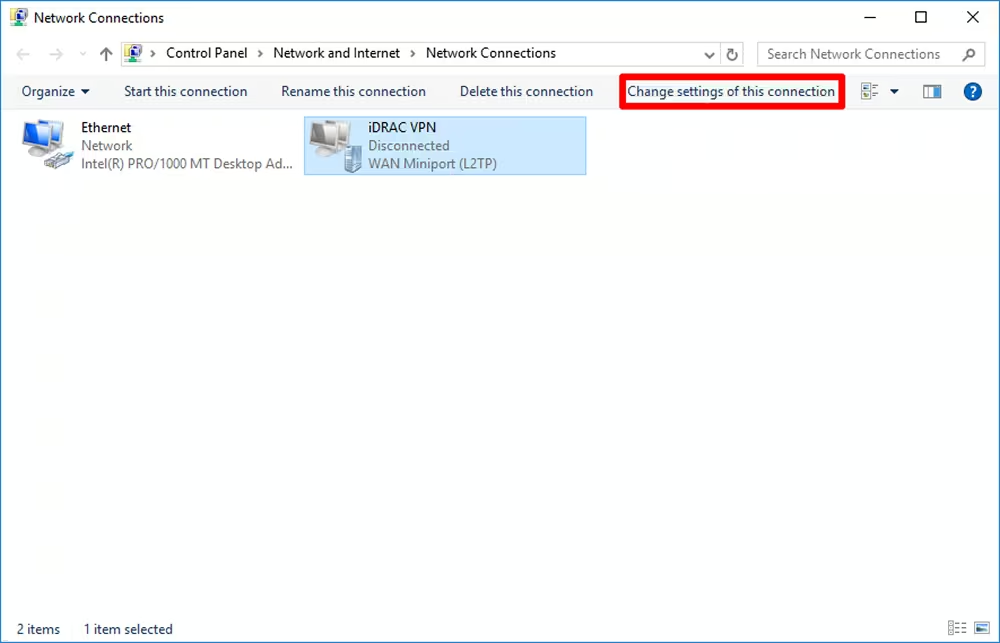
In the VPN tab, click Change adapter options in the Related settings section

-
Find the adapter with the same name as your VPN connection and click Change settings of this connection
-
In the connection properties window, go through the following steps:
-
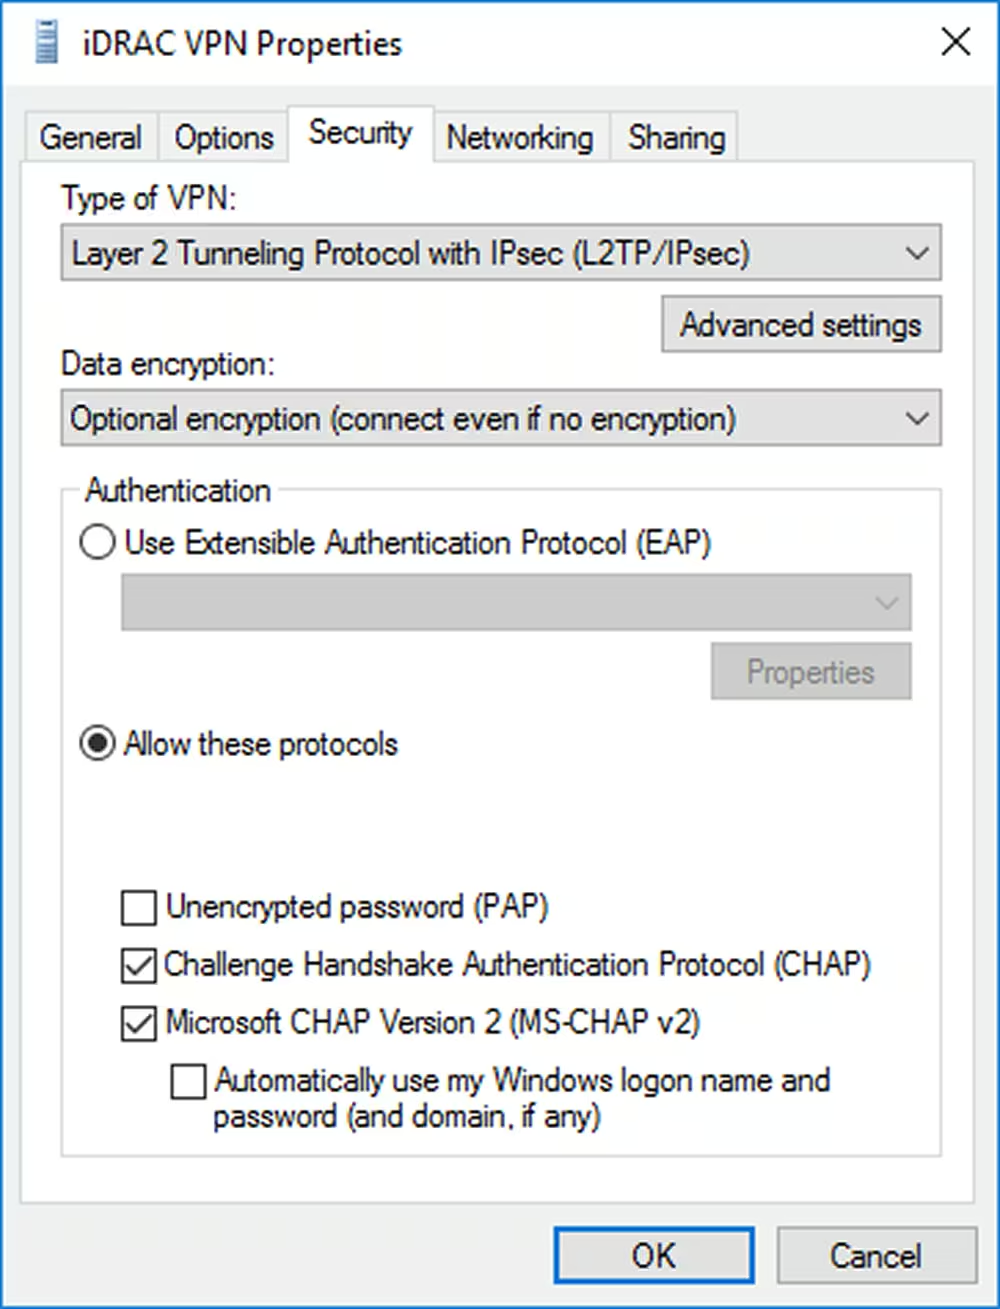
On the Security tab:
-
Enable Allow these protocols
-
Ensure that only Challenge Handshake Authentication Protocol (CHAP) and Microsoft CHAP Cersion 2 (MS-CHAP v2) are enabled
-
-
-
-
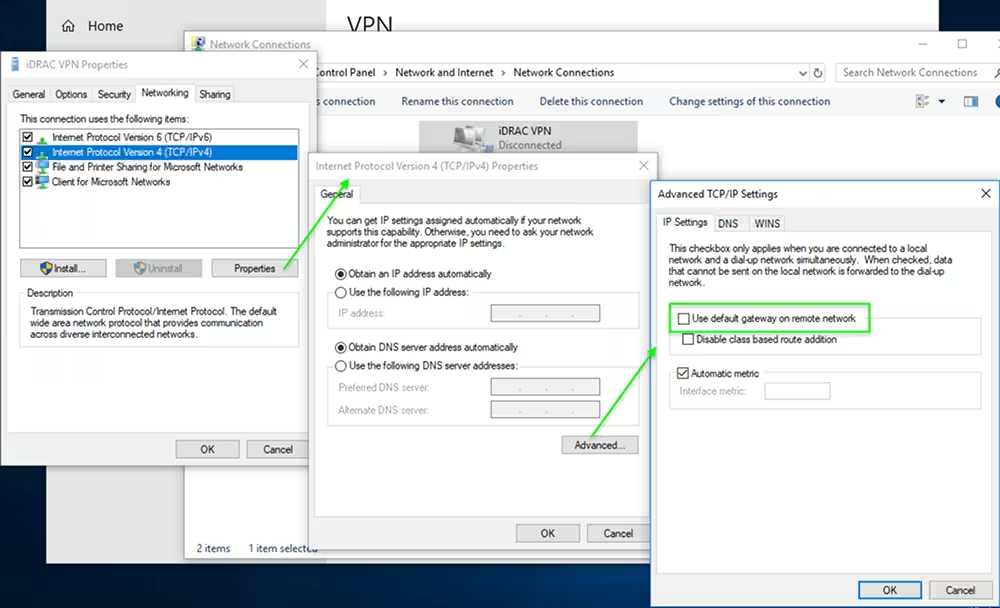
On the Networking tab:
-
Select IPv4 protocol and open its properties using the Properties button
-
Click Advanced, then untick the Use default gateway on remote network checkbox
-
-
-
-
Click OK to save settings and close all open windows
-
Connect to VPN and add routes to iDRAC network
-
Go to Start → Settings → Network & Internet → VPN
-
Find your VPN connection and click Connect
-
Once the VPN connection is established, add the routes to the iDRAC's network:
-
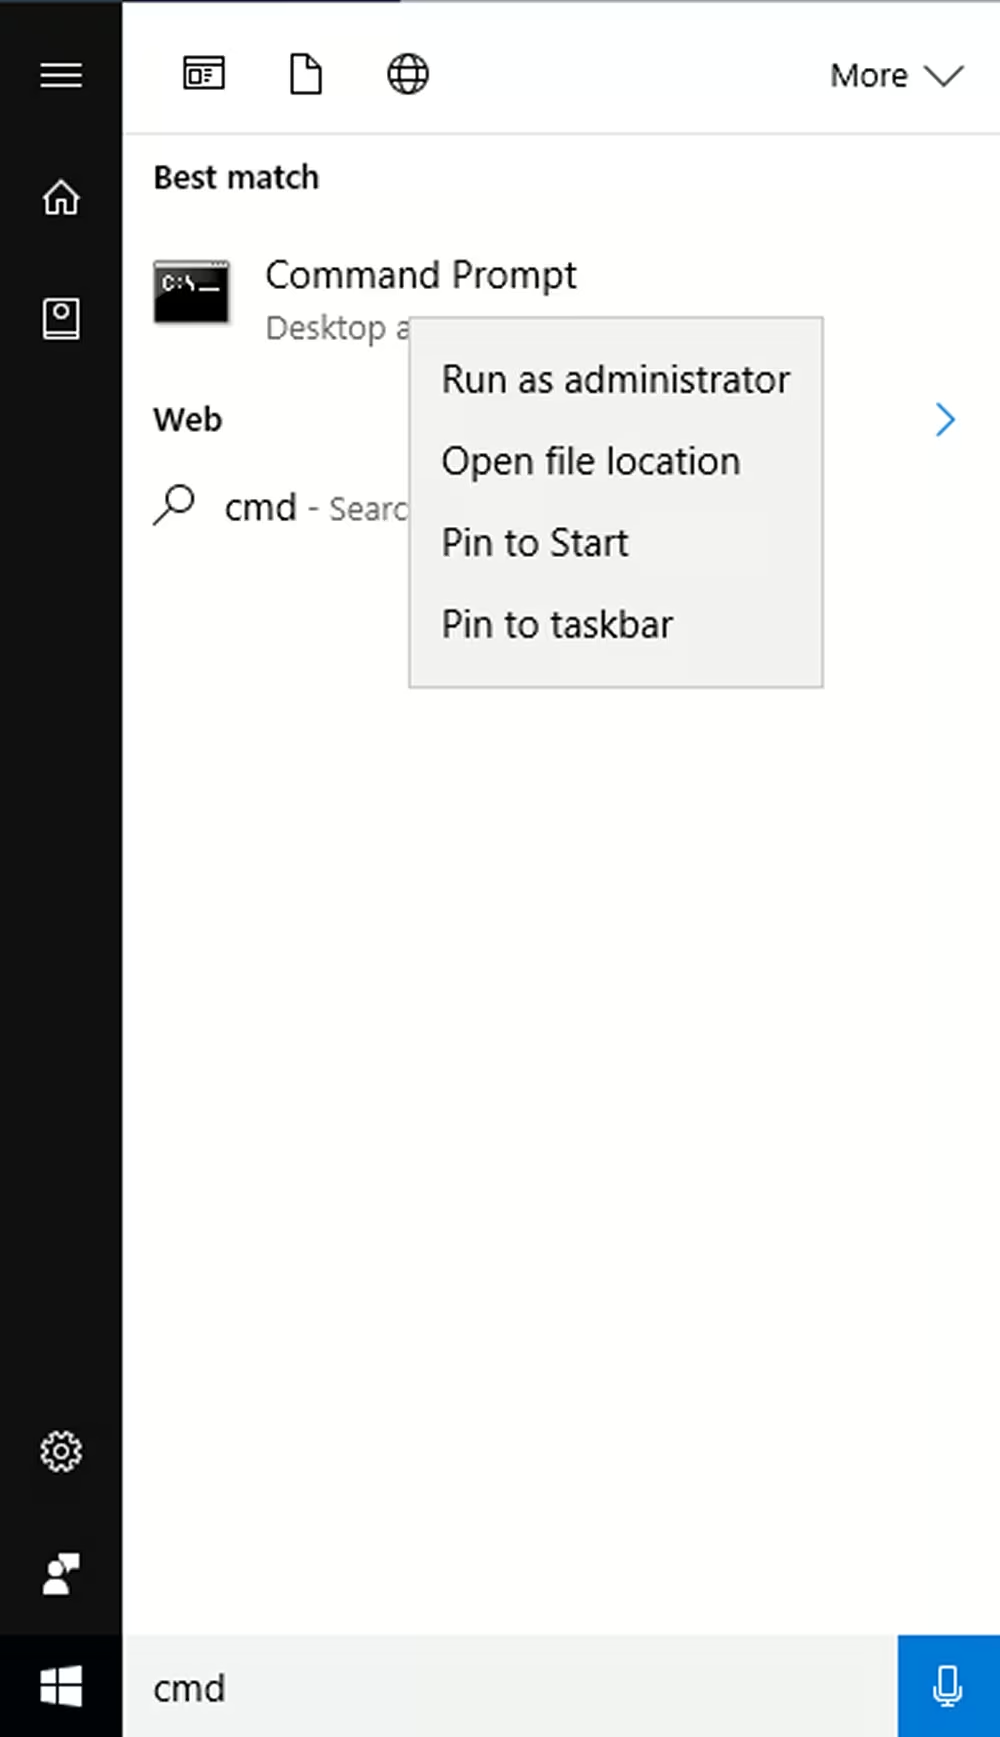
Go to Start, type
cmdand open Command Prompt application as Administrator
-
-
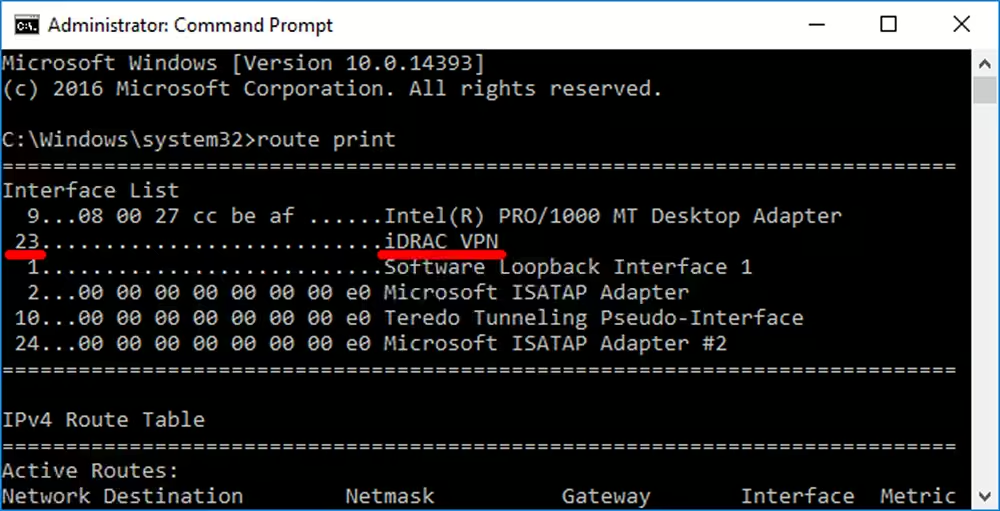
Execute the following command to get the VPN network adapter ID:
route print -
Scroll to the Interfaces List block and find your VPN adapter and its ID
-
-
-
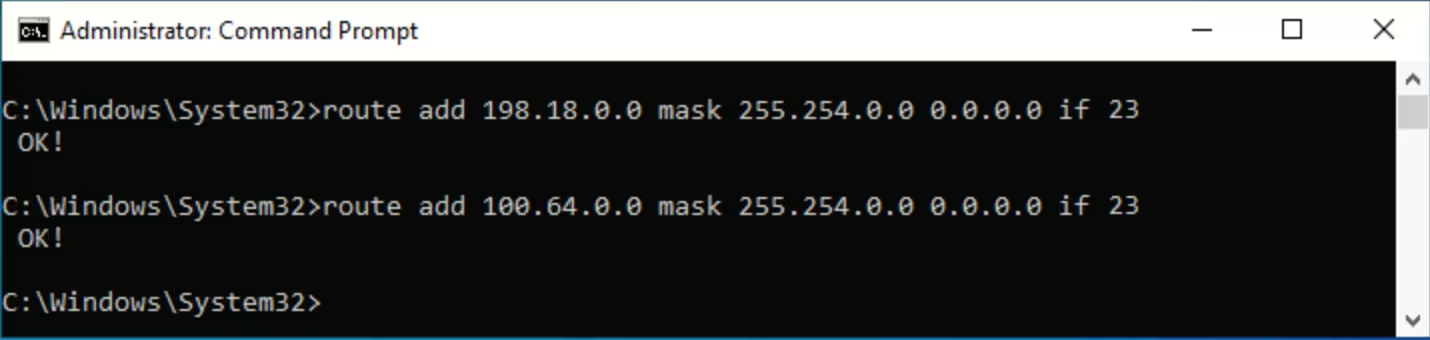
Execute the following commands to add routes:
route add 198.18.0.0 mask 255.254.0.0 0.0.0.0 if your_adapter_IDroute add 100.64.0.0 mask 255.254.0.0 0.0.0.0 if your_adapter_IDReplace
your_adapter_IDwith the actual ID you obtained in the previous step.
-
Now you should be able to connect to iDRAC on your server.
Finding iDRAC credentials
The IP address and credentials for an individual server's iDRAC interface can be found in the customer portal:
-
Navigate to Dedicated Servers → Manage → Your server → Details
-
Scroll to the OOB section and click Credentials
Share
Suggested Articles
- Cloud servers
- Cloud server volumes
- DNS
- Cloud storage
- Customer portal
- Dedicated servers
- Firewall
- Forex VPS
- How it works
- Kubernetes clusters
- L2 segments
- Load balancing
- Remote block storage
- Scalable bare metal
- VPN to GPN