Setting up Ubuntu built-in VPN client
This guide applies to Ubuntu 22.04 and later.
Installing required packages
Run the following commands to update packages and install the L2TP plugin for NetworkManager:
sudo apt update
sudo apt install network-manager-l2tp network-manager-l2tp-gnome -ySet up a new VPN connection
-
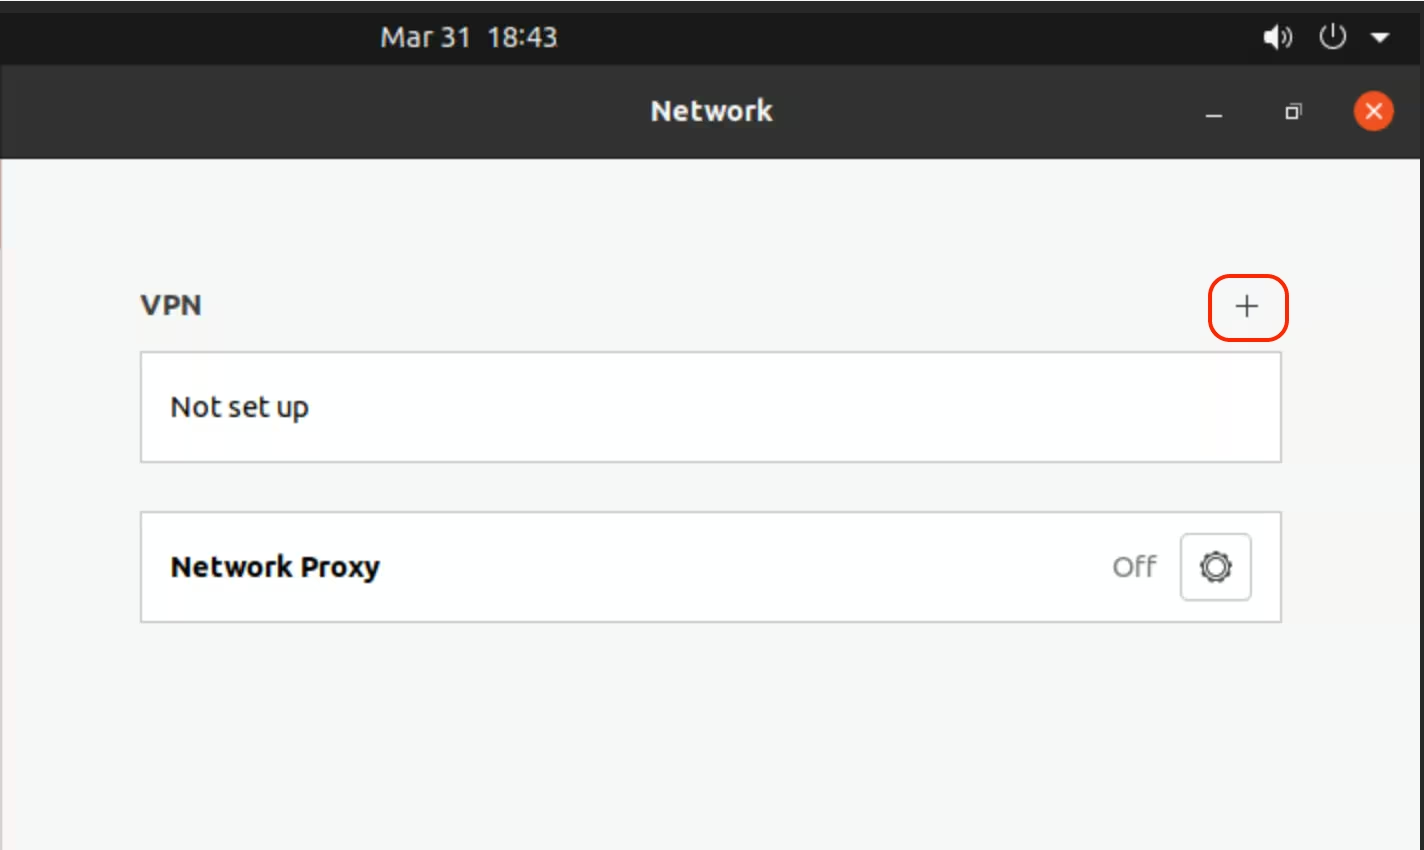
Open Settings and click "+" next to VPN to add a new VPN connection:
-
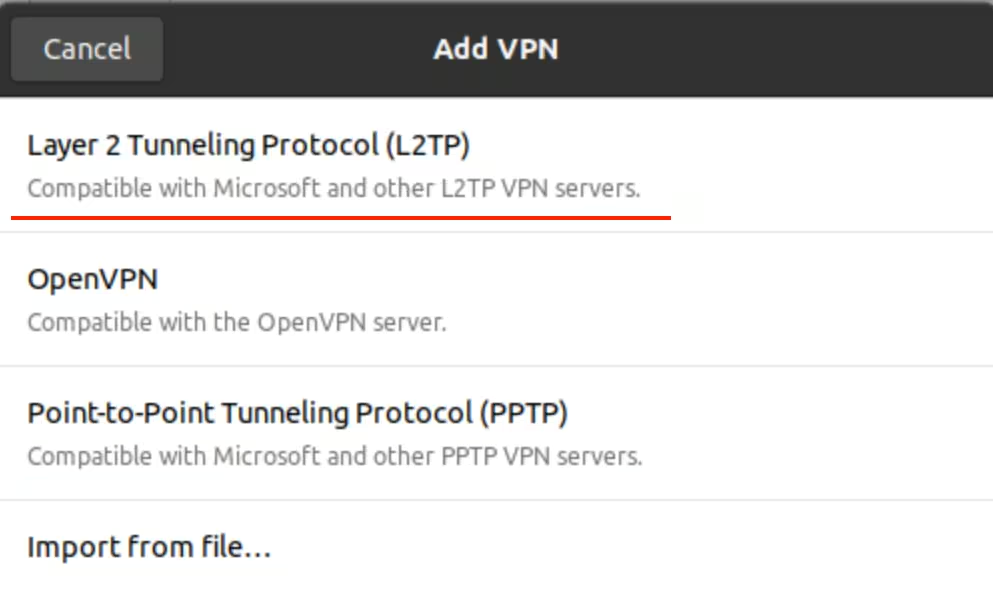
Select L2TP:
Get the connection details in the customer portal → Networks → VPN access → VPN to Global Private Network. Select the required location, then click Show.
-
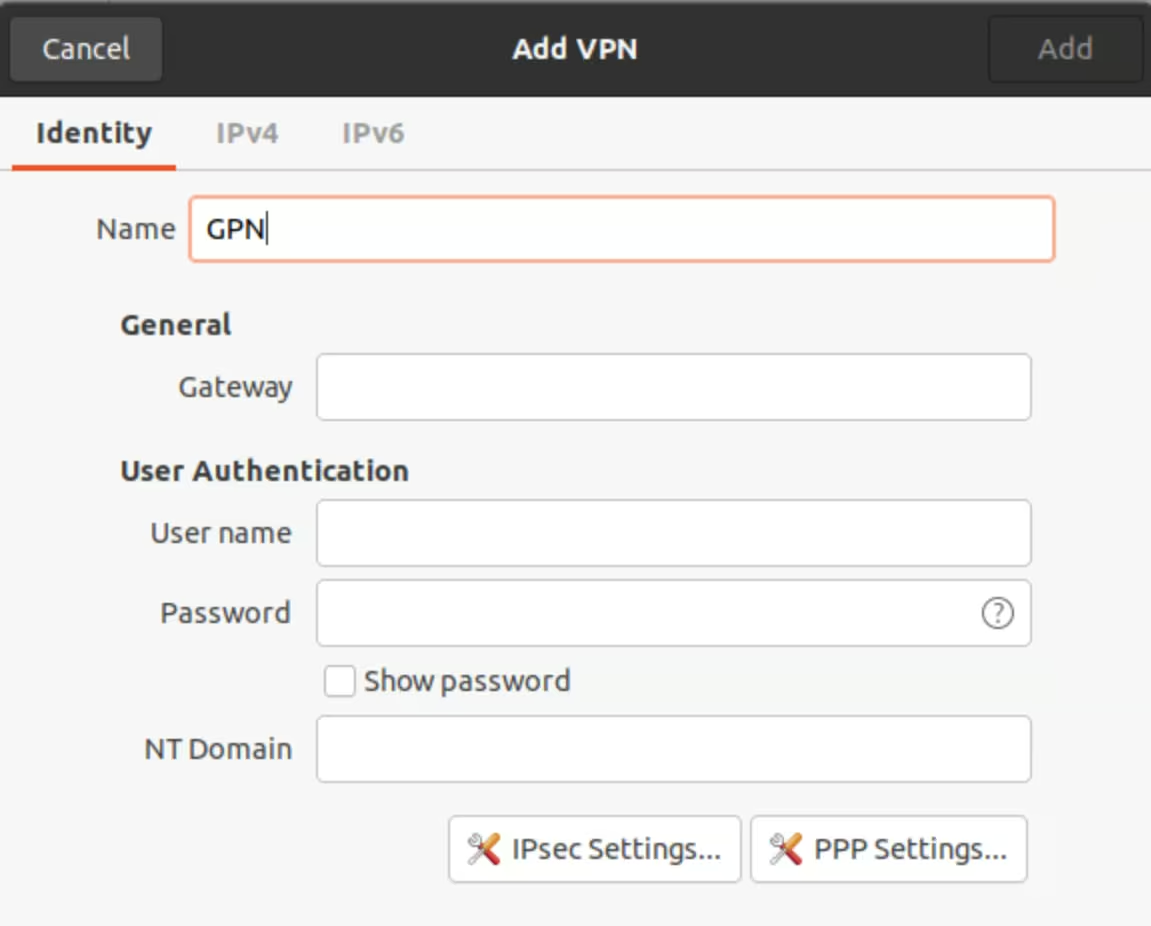
In the VPN settings, open the Identity tab and enter the credentials from the customer portal:
-
-
Name (e.g. GPN)
-
Gateway: VPN server
-
Username: Login
-
Password: Password
Click the user icon in the Password field and select Store the password only for this user.
-

-
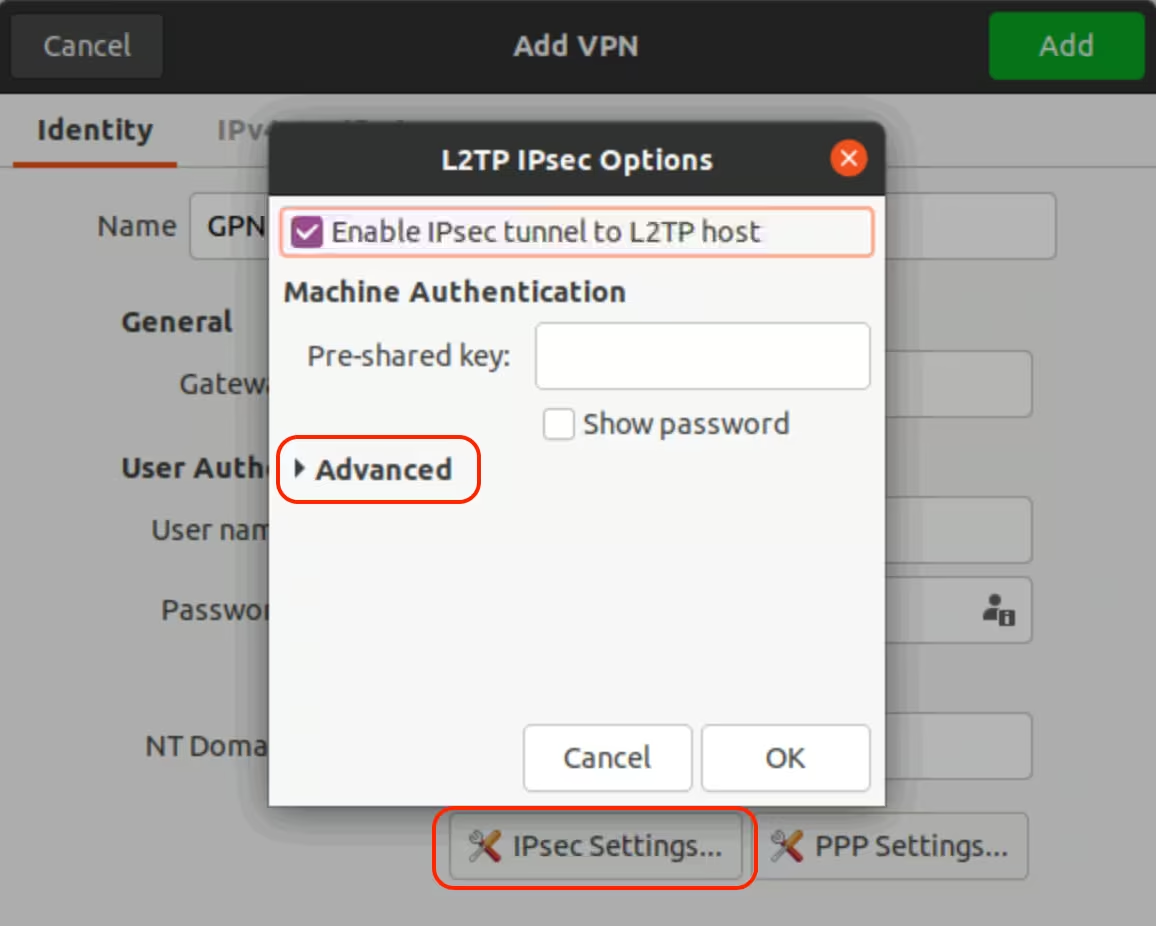
In the same window, click IPsec Settings, then:
Select Enable IPsec tunnel to L2TP host, then click Advanced:
-
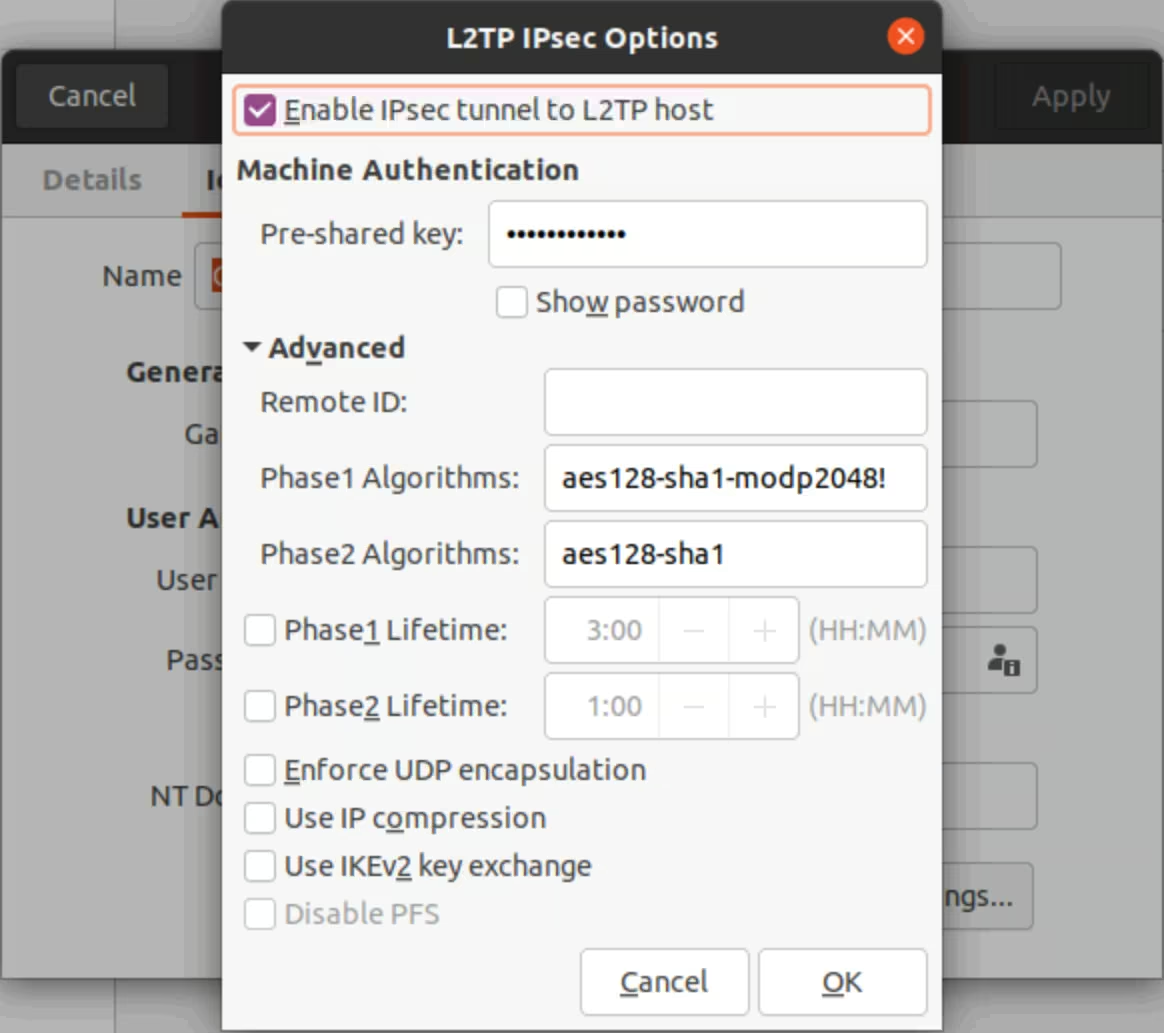
Enter the Pre-shared key (use the shared secret from the Customer Portal):
-
Set Phase1 Algorithms to
aes128-sha1-modp2048!Set Phase2 Algorithms to
aes128-sha1Click OK.
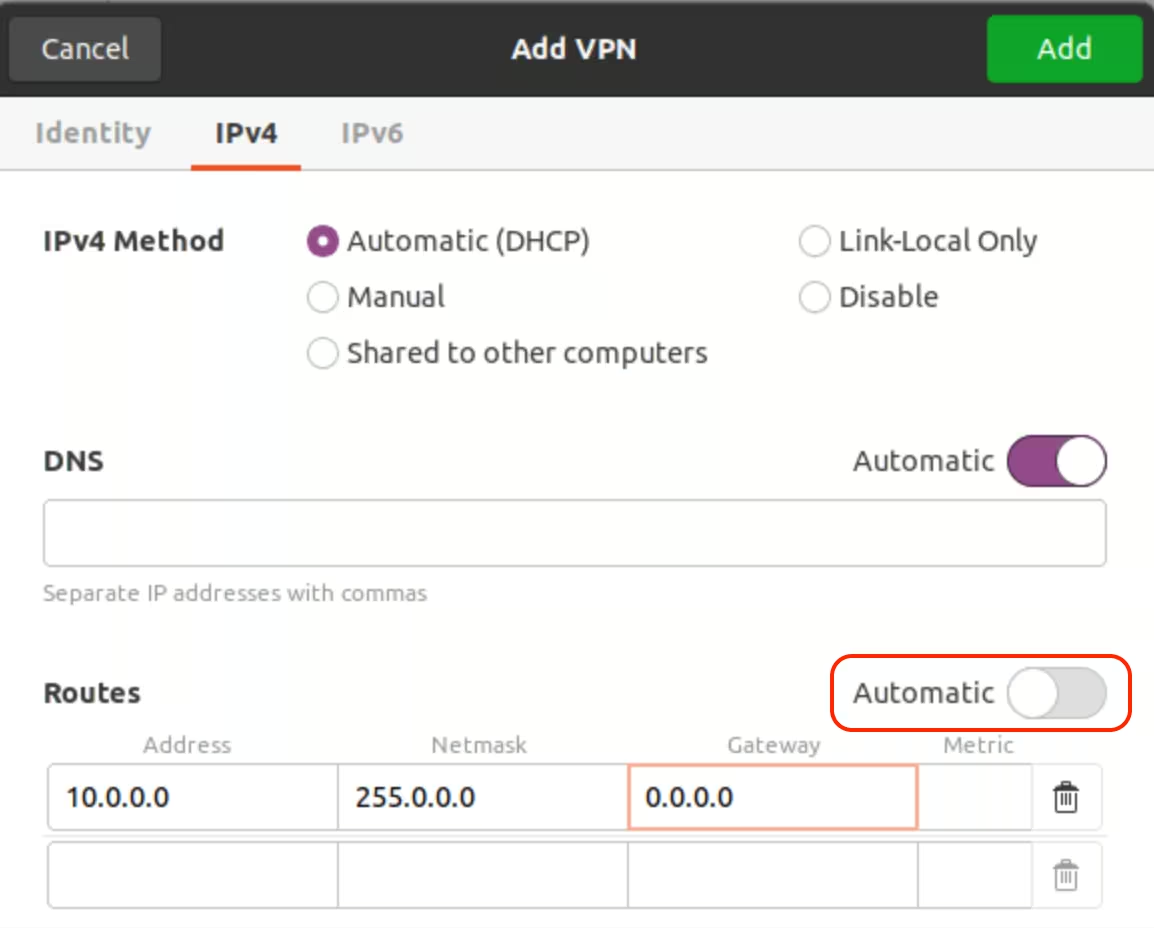
Open the IPv4 tab:
Scroll down to Routes, turn off Automatic, and add a route as shown below:
-
Click Add to save the setting.
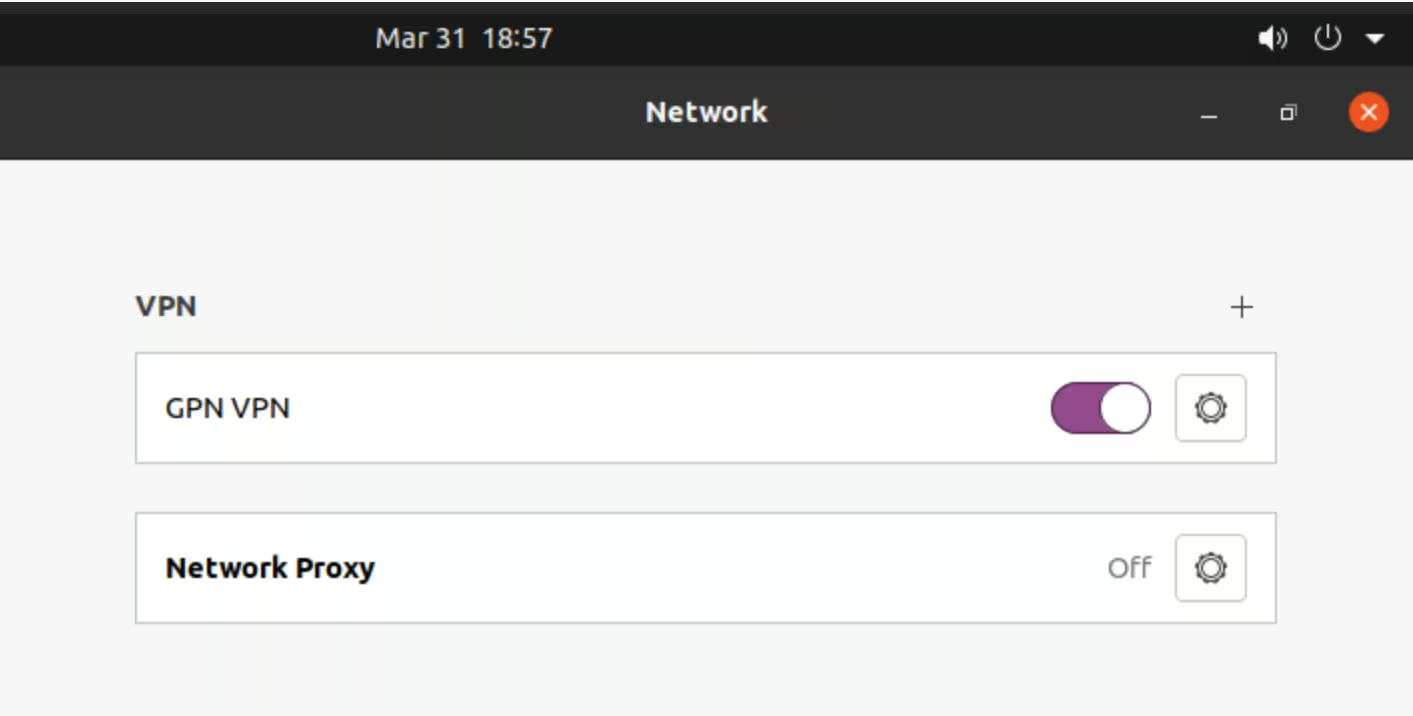
Make sure the new VPN connection is turned on: